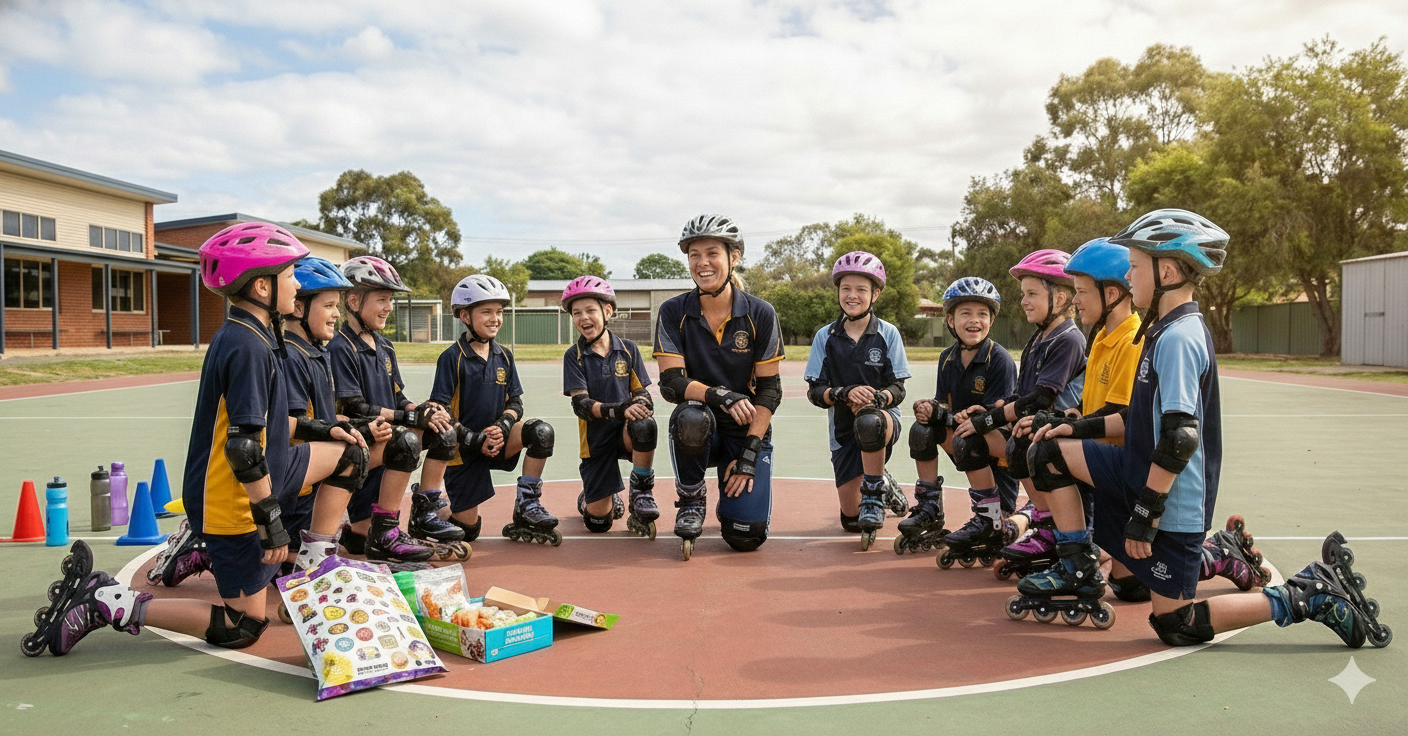
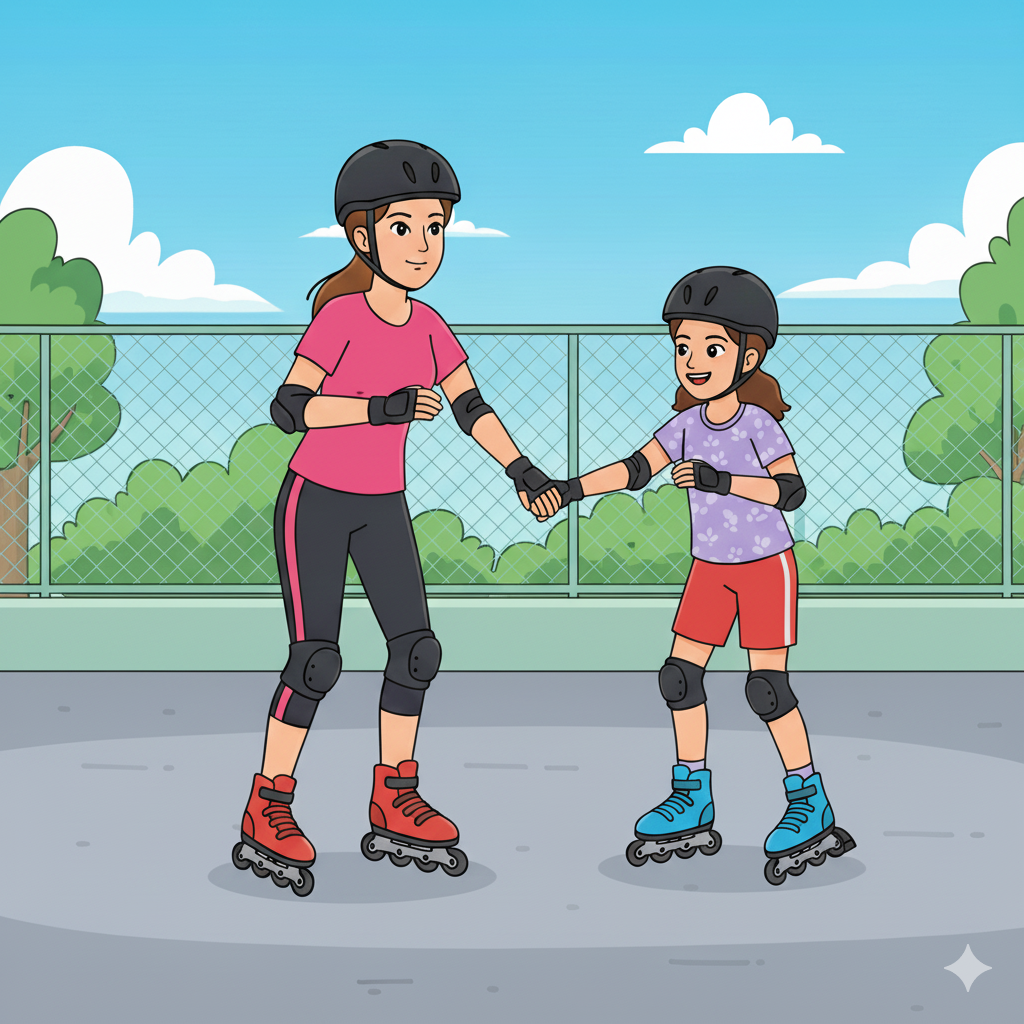
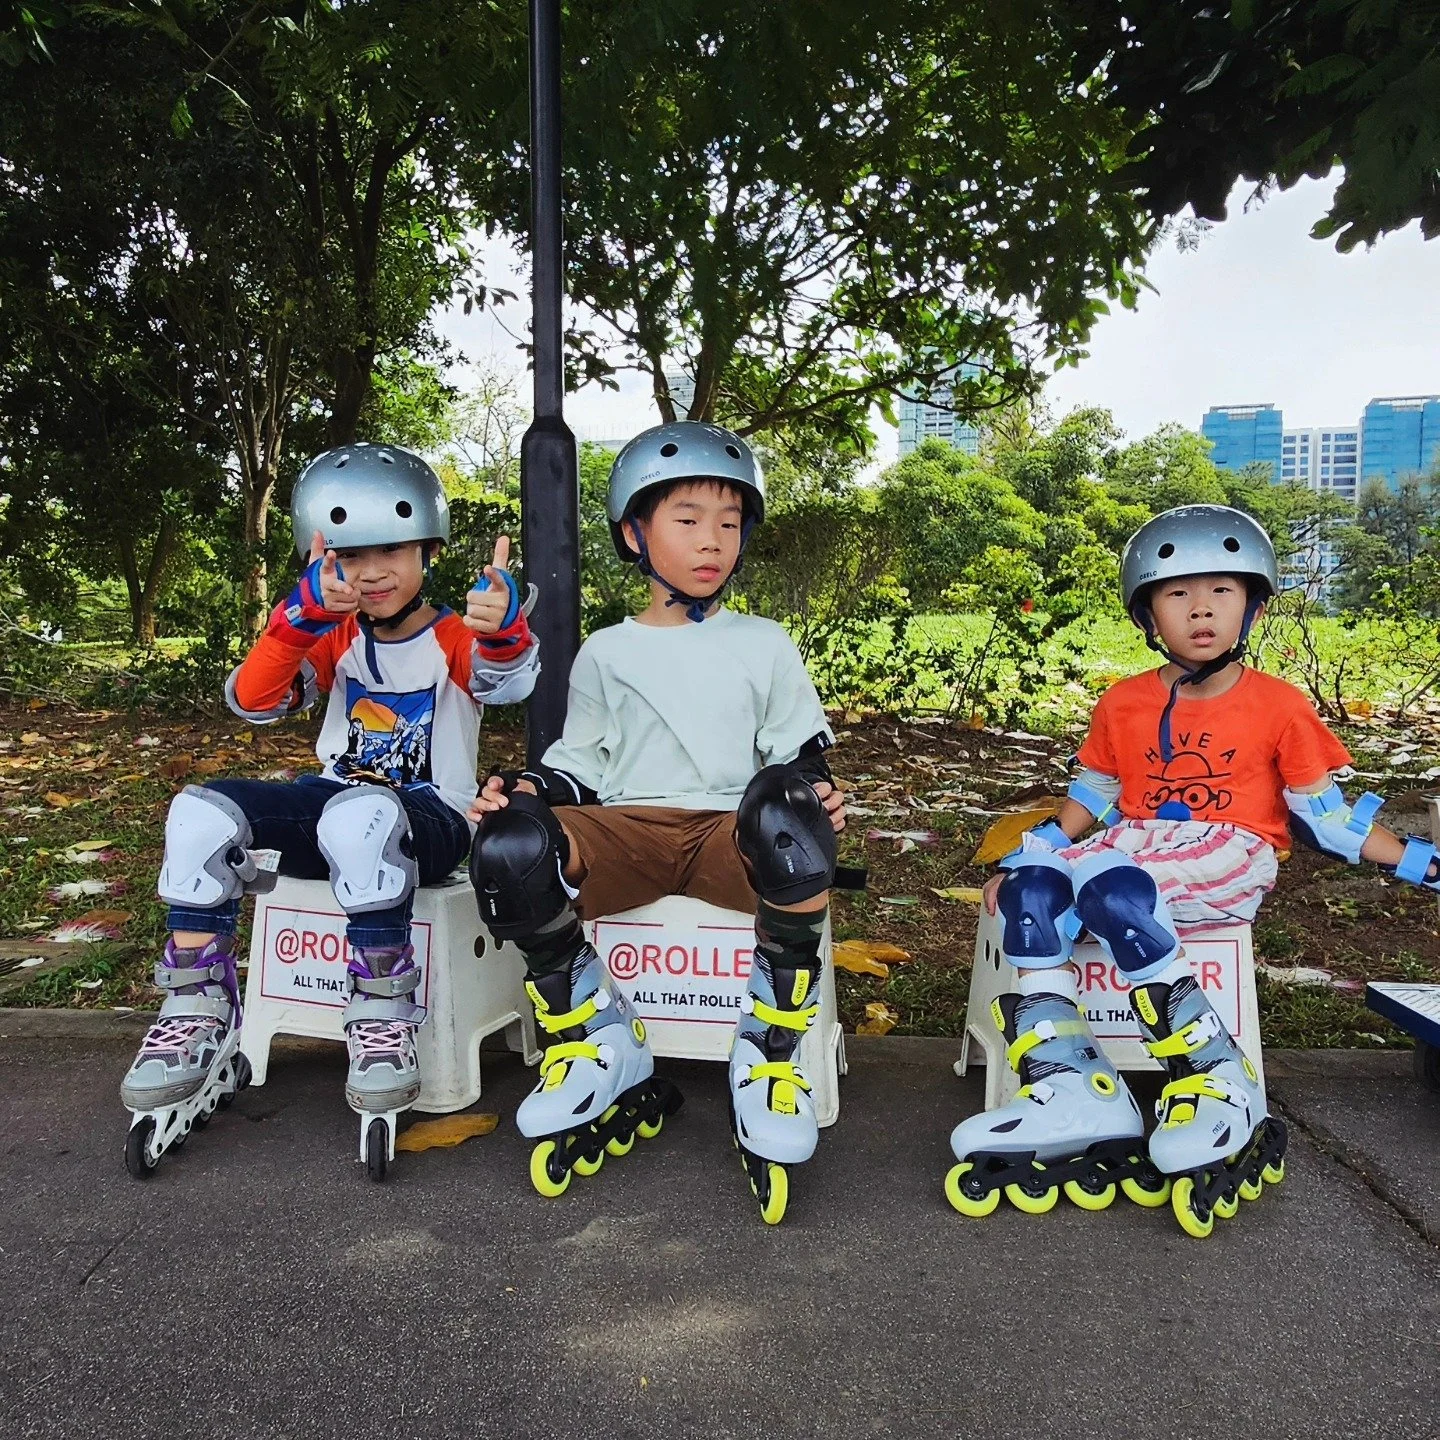
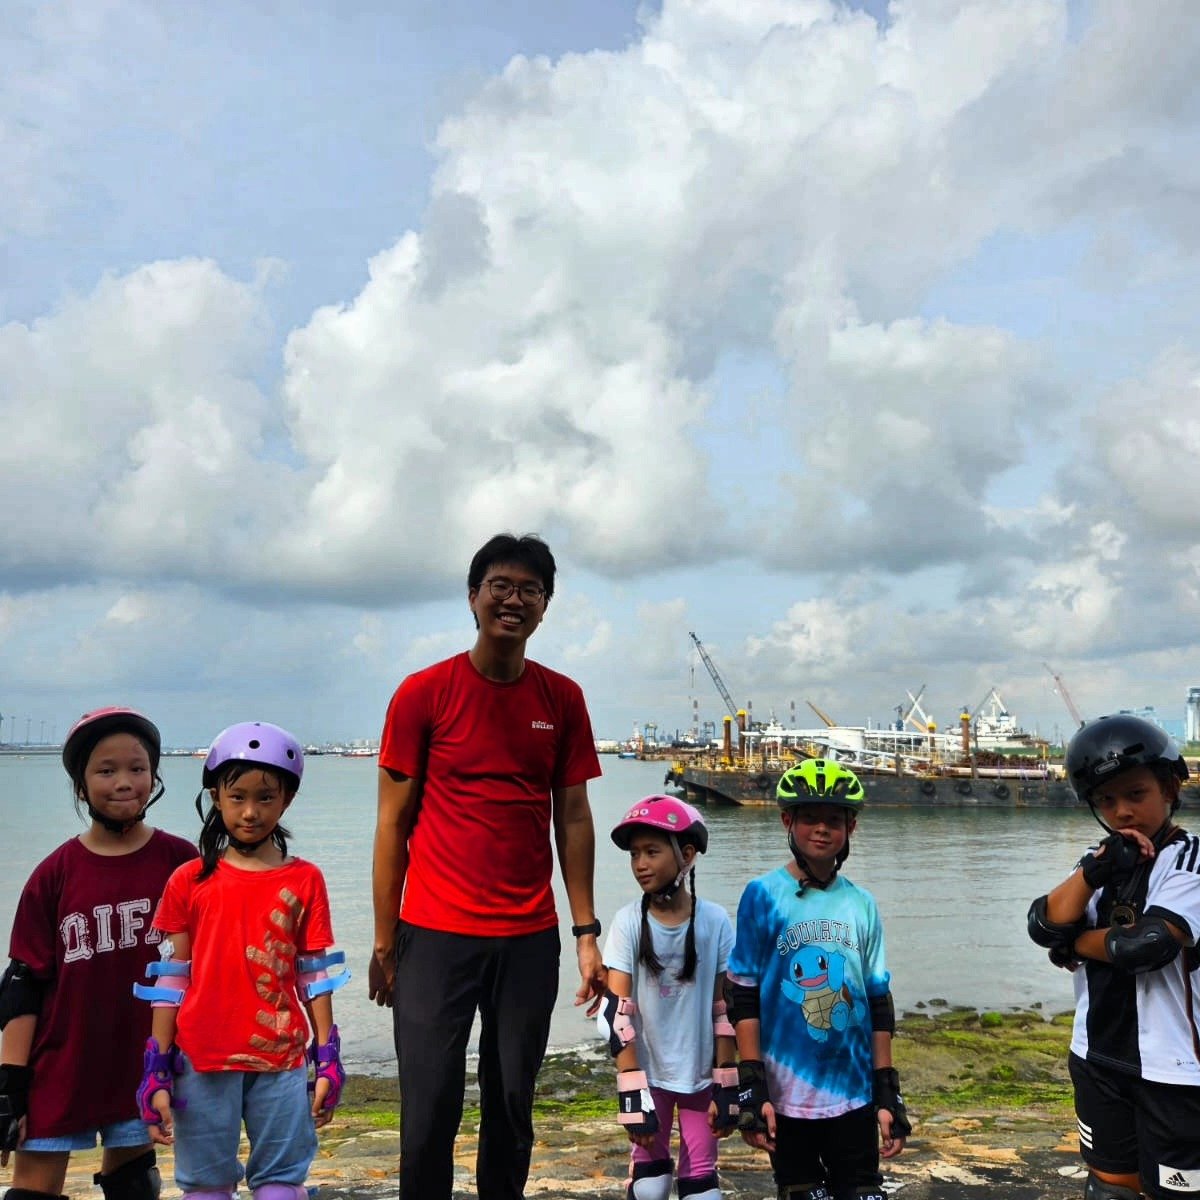
After today's session, here are five coaching reflections worth sharing with the team. These aren't theory — they're what we saw on the floor today, and what we should keep building into our practice every week.
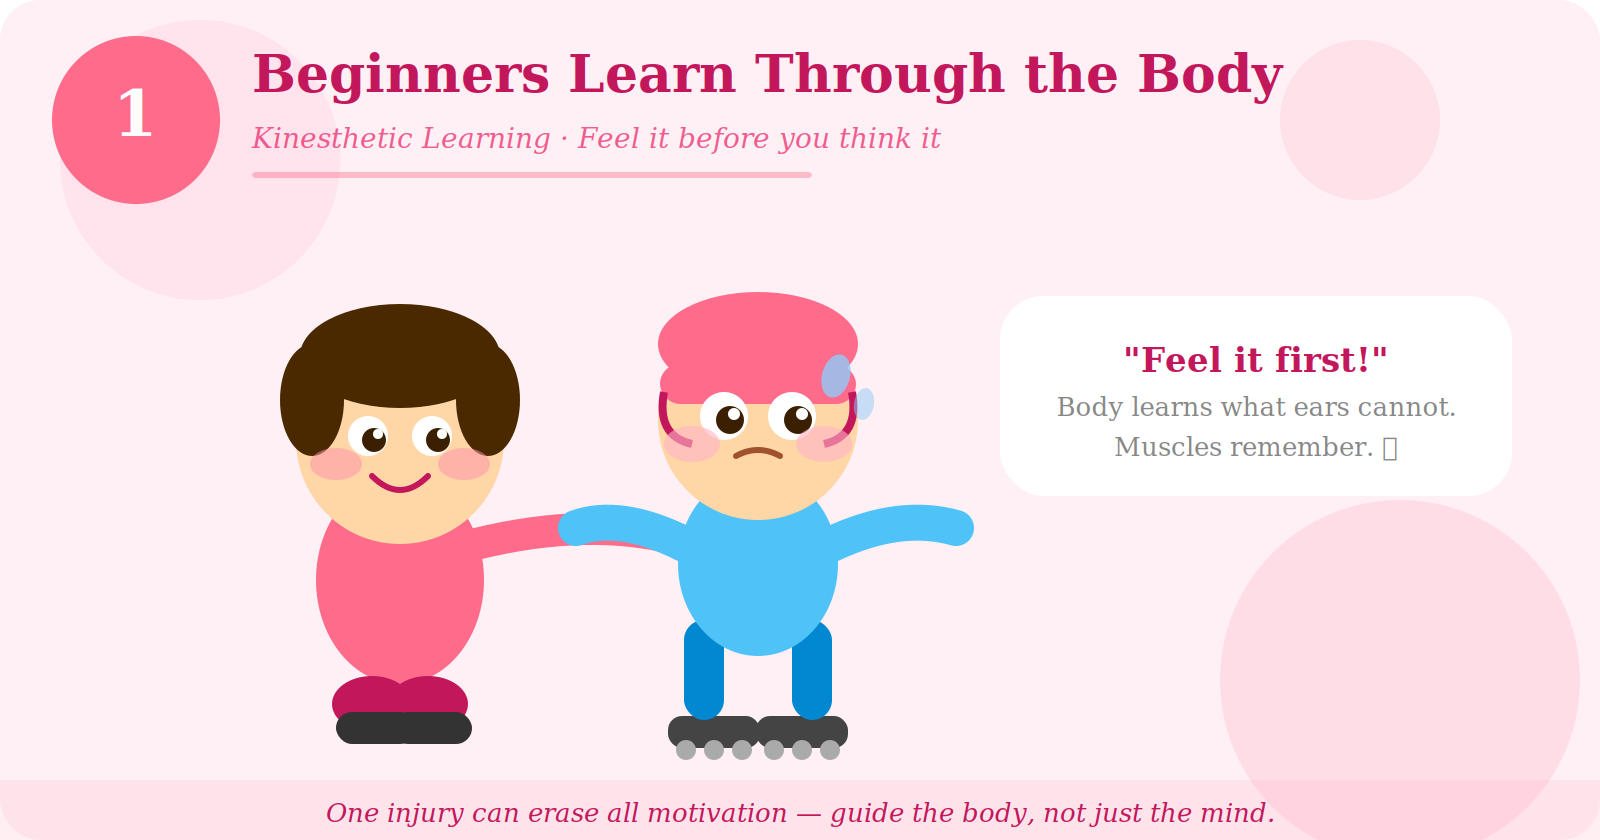
1. Beginners Learn Through the Body
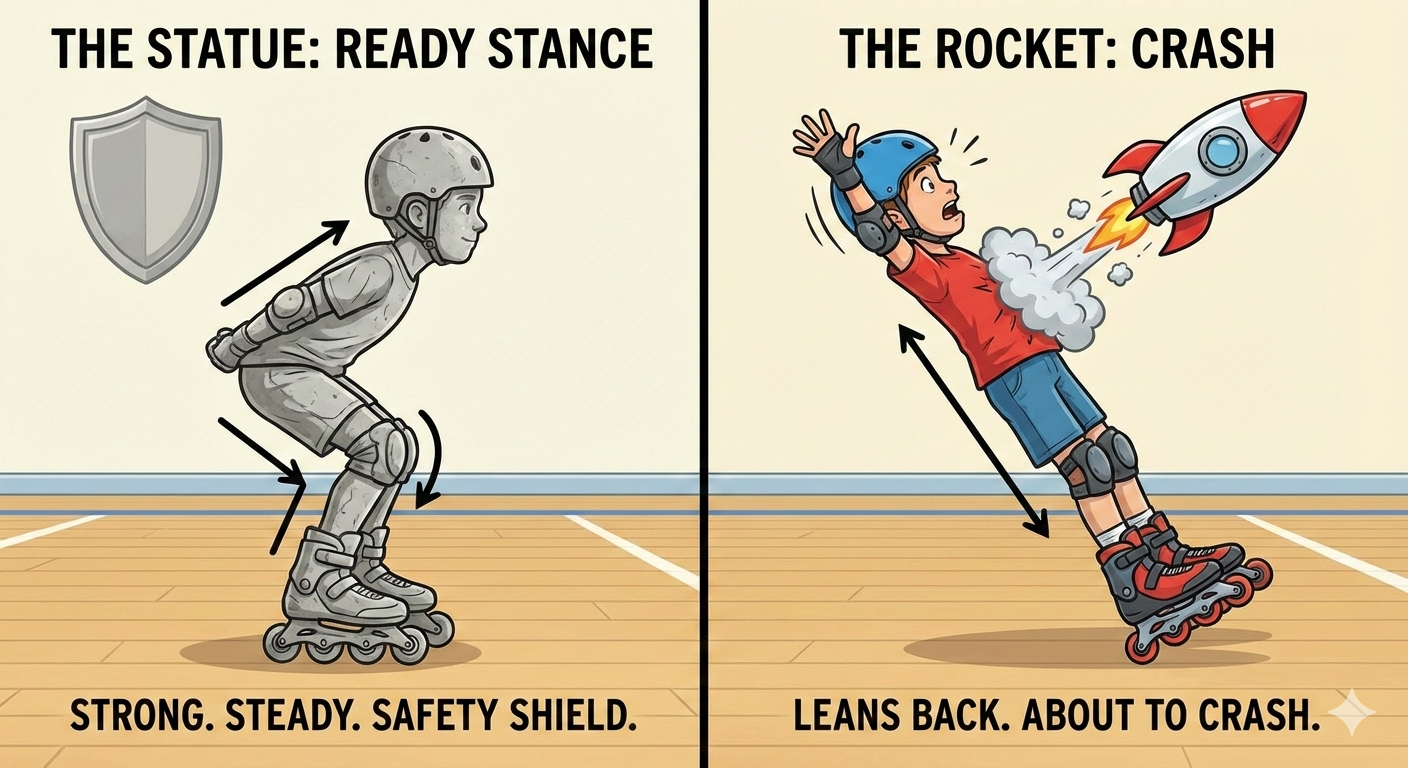
Kinesthetic input is far more effective than verbal or auditory instruction for young beginners. While intermediate and advanced skaters can learn from YouTube or a book, a complete beginner can watch the same video ten times and still freeze the moment they put skates on.
The body needs to feel it first — muscles and nerves learn through direct physical experience, not words. One fall at the wrong moment can erase all motivation. Guide the body before you explain to the mind.
✴️Key reminders:✴️
- Physical demonstration and hands-on support beats verbal explanation
- A single injury can end a child's interest in skating entirely
- Reduce talking. Increase doing.
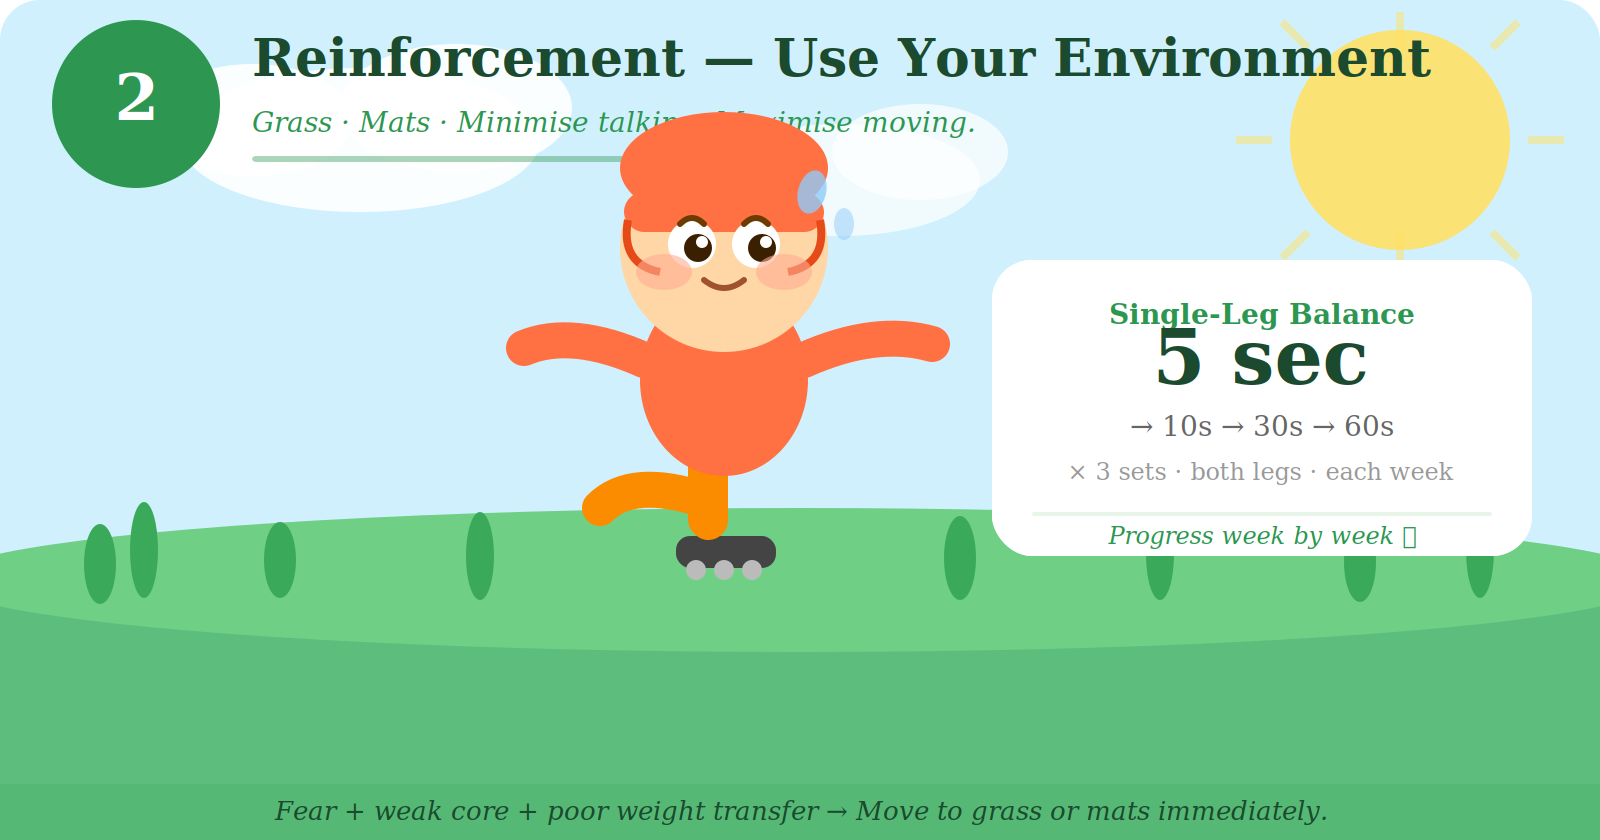
2. Reinforcement — Use Your Environment
Teaching a child who can't balance or do a basic V-walk is genuinely hard. If your explanations aren't working and your energy is draining fast, stop and change the environment. Look around. Find grass. Find soft rubber playground flooring. Or prepare a mat.
Three things hold these children back: psychological fear, weak core strength, and poor weight transfer. All three can be addressed by moving to a low-consequence surface.
✴️Minimise talking. Maximise moving.✴️
✅️Progression drill sequence (on grass or mat):
- **Single-leg balance:** 5 sec → 10 sec × 3 sets, both legs. Next week: 30 sec → 60 sec
- **Free walking on grass** in all directions
- **Two-foot jump** with bent-knee landing × 5
- **Single-leg hops** × 5 each leg × 3 sets → next week: 10 reps × 3 sets
- **Free sprint on grass** at full speed
❗️Mats must be planned in advance. If you know you have beginners next session, bring the mat.
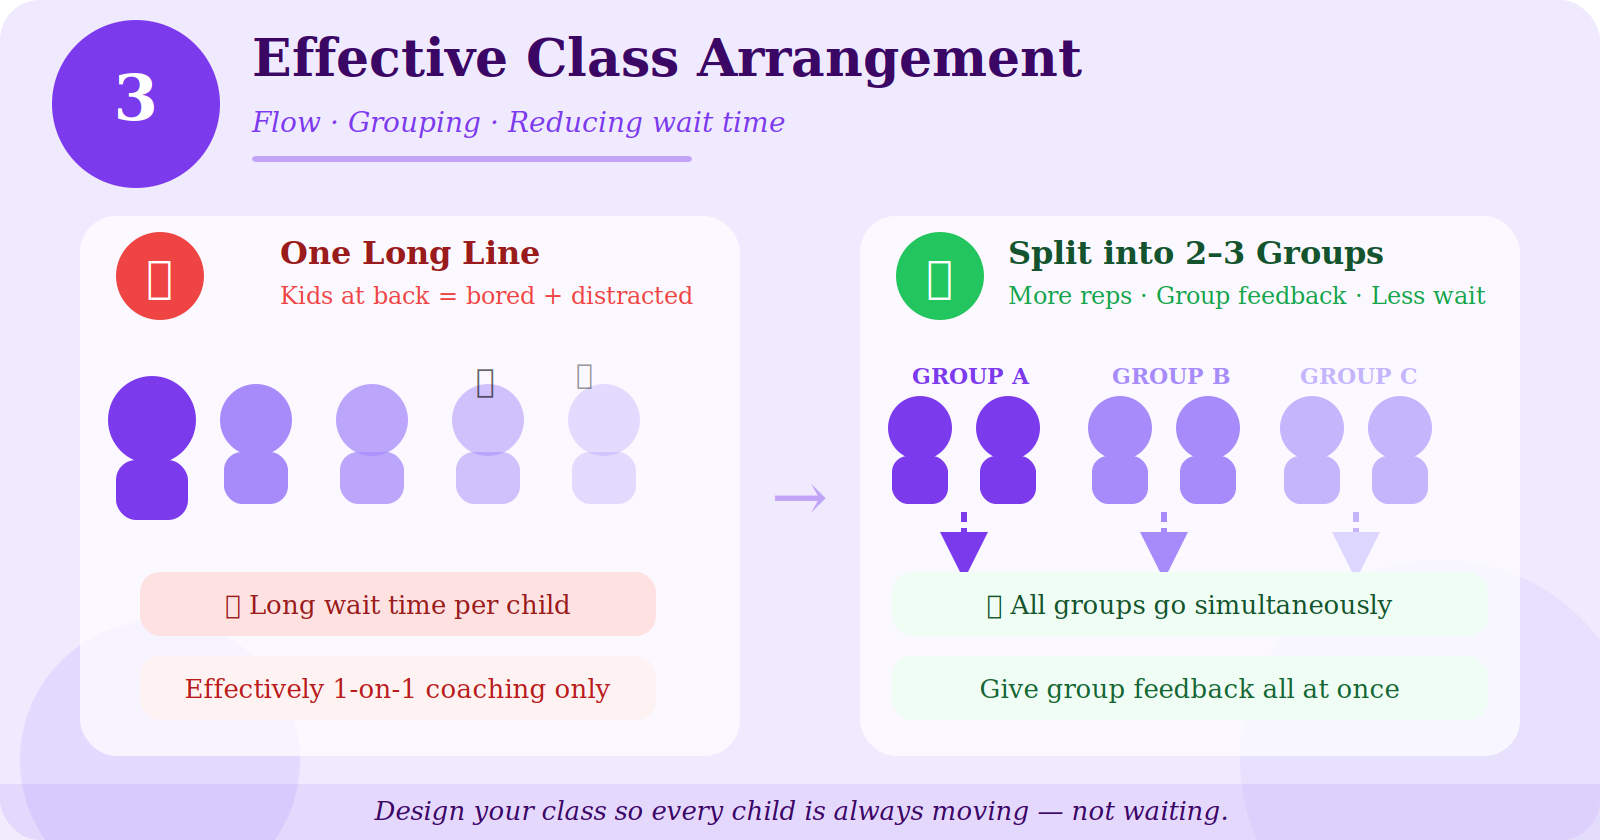
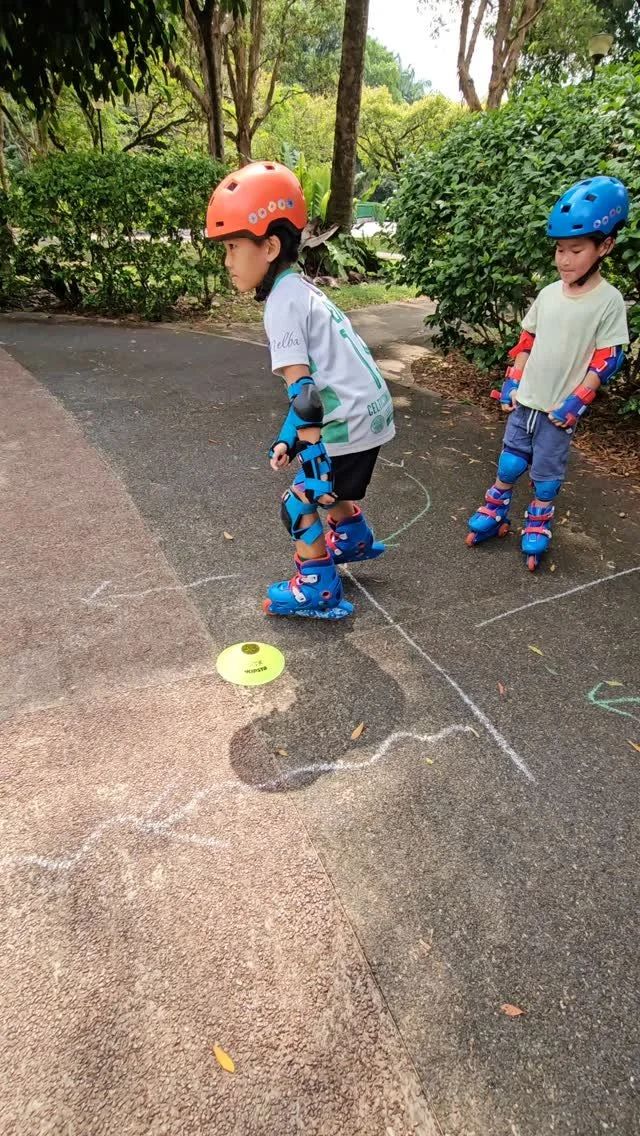
3. Effective Class Arrangement
One long line = effectively 1-on-1 coaching. Children at the back wait too long, lose focus, and switch off. Think carefully about how you arrange your class before you start.
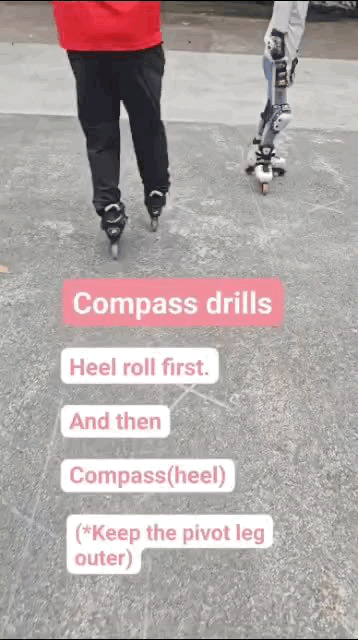
✅️3A · Turning Skills → One line is fine
Step turn, A-frame turn, and parallel turn flow continuously with almost no stopping. Set cones on both sides of the court. After each child completes a turn, they go straight to the other side and do the opposite turn immediately. No dead waiting time. Works well as a single line.
✅️ 3B · Stop & Zigzag Skills → Split into 2–3 groups
Heel stop, zigzag, and lemon drills involve a run-up and pause. Split children into 2–3 groups and send them simultaneously. More repetitions per child, less waiting, and you can give group feedback all at once rather than correcting one child at a time.
✴️The goal: every child should be moving, not standing still.✴️

4. Errorless Learning — Support First
Research consistently shows that children who experience early failure — falling, getting hurt, or repeatedly getting something wrong — learn significantly more slowly. This effect is stronger for younger children, slower learners, and children with developmental differences.
Errorless learning means structuring practice so that the child experiences success first, even if that success requires full support from the coach.
A child holding your hand to complete a single-leg balance is still building muscle memory. A child doing a power slide on a sliding mat — even with your guidance — is still forming the neural pathways that will eventually allow them to do it independently.
✴️This is not a shortcut. This is a deliberate coaching strategy.
With enough supported repetition, skills transfer to standard conditions naturally. Start with the support. Fade it gradually. Trust the process.✴️
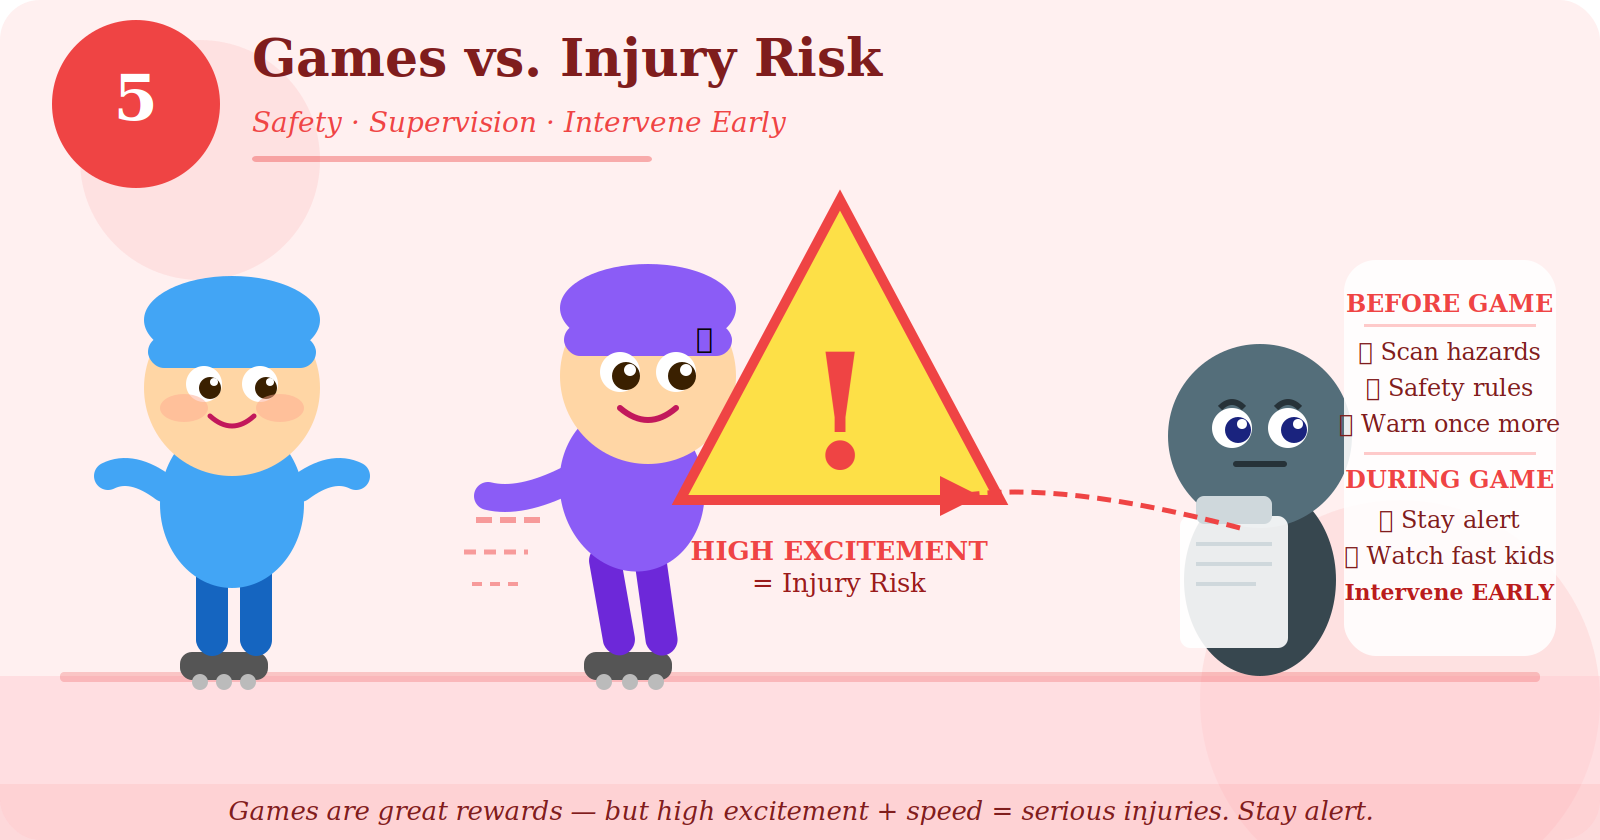
5. Games vs. Injury Risk
Games are excellent rewards and motivators. But a coach's job does not stop when the game begins — it shifts into a different mode.
✅️Before every game:
- Scan the area for hazards (cones out of bounds, wet patches, uneven ground)
- Set clear safety rules out loud before starting
- Remind children of injury risks — one more time, every session
✅️During the game:
Watch closely for children who become over-excited or start skating significantly faster than the group. High excitement combined with high speed is the most dangerous combination in a skating class. Collisions and falls at this level can cause serious injury.
✴️Intervene early. A calm word or a brief pause before things escalate is always better than dealing with an injury after.✴️
These five points aren't complicated — but they require deliberate attention every session. As coaches, we're not just teaching skating. We're managing fear, building confidence, designing safe environments, and making split-second decisions.
Keep growing. Keep reflecting.
Keep rolling.
— Coach Moon
Head of coaches, Programme manager.
(B.A.) Sport Science, M.A.(Physical Education)
©️All That Roller Ptd Ltd